- Navigate to Appearance
 Import Demo Data – select preferred demo option, if this is first time importing demo, select “Recommended”, click on Import Demo Data button. This process can take some time so please be patient.
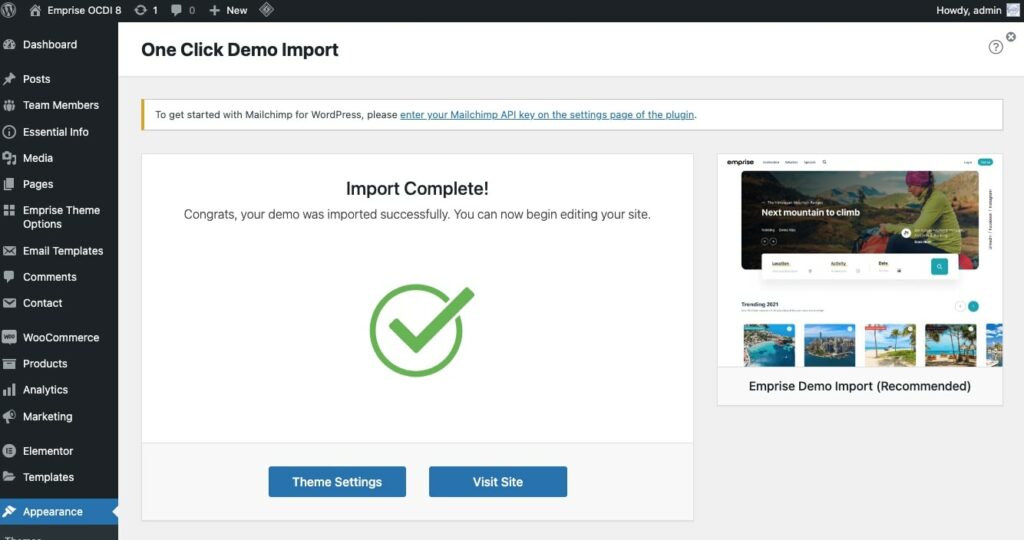
 - After the demo content has been imported successfully – you will get a confirmation message as shown in Screenshot 1 below:
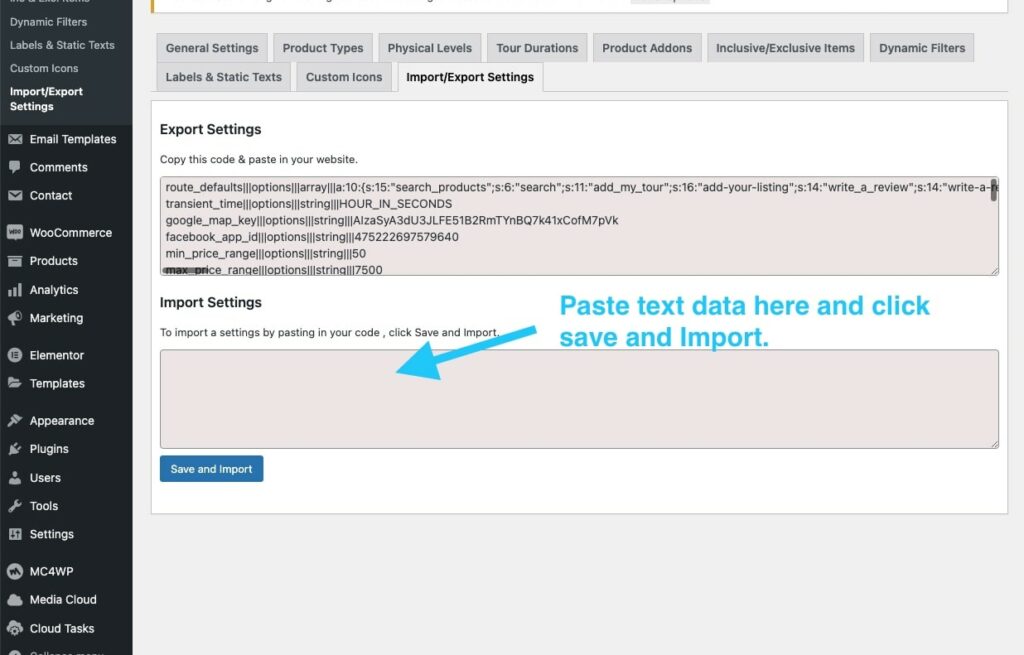
- Go to Emprise Theme Options Import / Export Settings and copy the text data from theme-options-settings.txt file and paste into into the “Import Settings” field as shown in screenshot 2 below. You will find this text data inside emprise-package > demo-content folder.
- Go to Settings Permalinks and select “Post name” under common settings and save. Even if it’s already set to “post name”, still click on save to ensure you get custom permalinks and nice URLS for your pages and posts.. This is mandatory to have the URL’s work as intended.
- If you have any cache plugin enabled, make sure you purge all cache at this point.
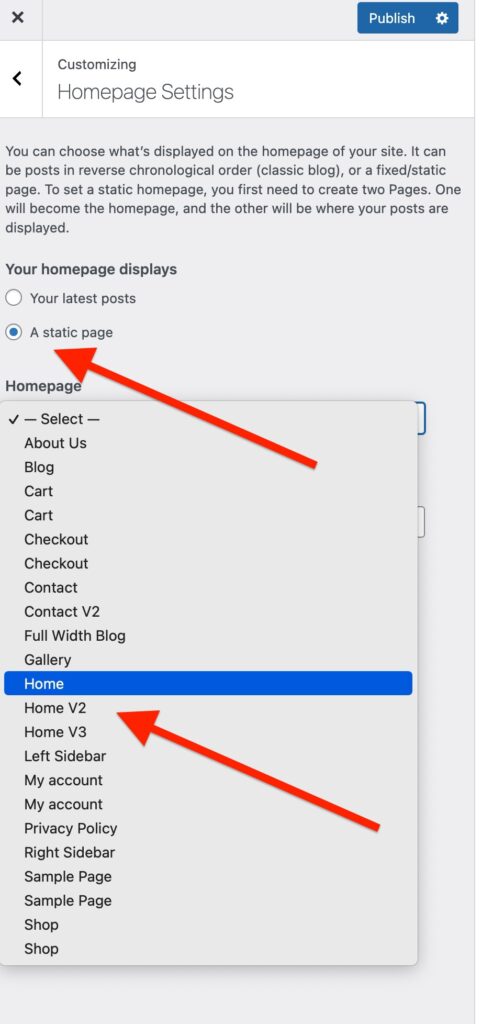
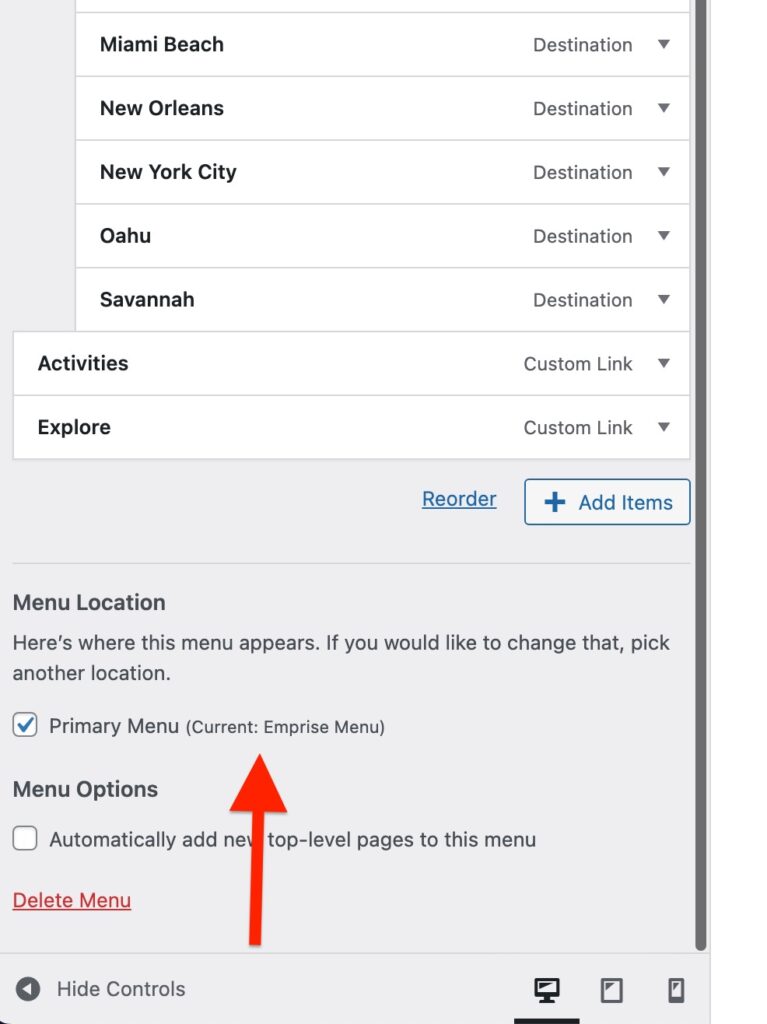
- Now check your WordPress site and it should show the frontend as demo. If it shows blog posts instead of home page, go to Appearance > Customize > Home Page Settings and click on A static page and select “Home” from drop down as shown in screenshot below, and click on “Publish”. And finally, within Appearance > Customize >> Menus , select “Emprise Menu” and scroll to the bottom, check the box that says “Primary menu” and publish. Again shown in the screenshot below.
- Now you will need to add your own images to products, posts and pages since the images used in demo are licensed and are not distributed with the theme.
- Congratulations. You now have successfully imported all the required demo content similar to whats shown in our preview site on Themeforest. If you are having any problems, feel free to get in touch with us for help.